Last week I was helping my son with his homework and all excited he asked if he could use my new iPad to find some photos for his project. I had to tell him that we weren't able to print any from it, but I came away thinking that there must be a way to print from my iOS devices without an AirPrint enabled printer.
After some research I found that in fact there is! There are a couple of options but the one I found was effective and easy to set up. That was AirPrint Installer for Windows 7/Vista/XP.
The setup pretty much does everything for you, but there are a couple of tweaks that I think are important. I will cover those later on. First though there are some prerequisites, so can you use it?
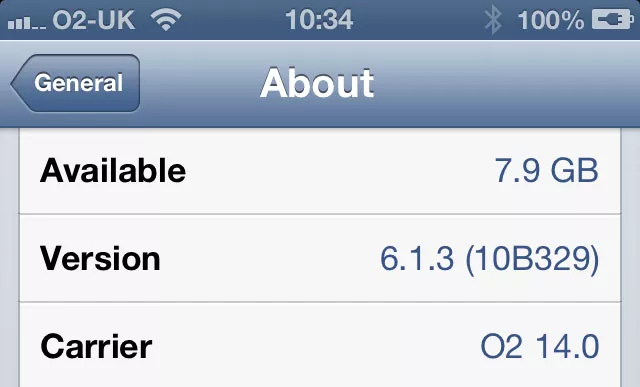
In order to use AirPrint Installer you need to make sure you are using iTunes 10.1 or above with shared Wifi and printer. Your iOS device needs to be on the same network and you need full admin rights to set it up because the installer adds and enables a service. You also need to have iOS 4.2.1 or above on your device. You can find out which version you are running by looking in Settings>General>About>Version
Once you have determined that you can use the installer download it from the link above and extract all the zipped files to a location of your choice.
Once you have extracted the files, open the location and look in the Windows AirPrint Installer iOS 5 for x86 x64 folder. Right click on AirPrint_Installer.exe and in the context menu click Run as administrator. The following box will appear on your screen.
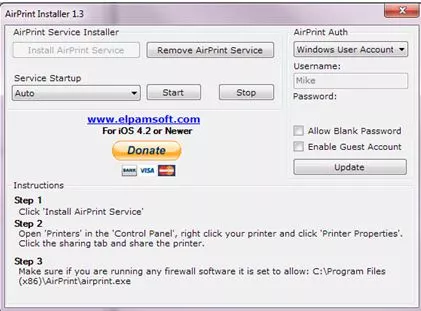
Before you install the service you may need to make a change to the AirPrint Auth box. As you can see it automatically picks the Windows account you are logged on to but it doesn’t give you the option of putting in a password. This means that if you use a password on your account the service isn’t going to work. Clicking on the dropdown arrow gives you a further two options; AirPrint and Use Guest Account. The installation notes suggest you use the guest account but that doesn’t have a password either and presents a big security risk because the first thing a hacker will try when attacking your PC is the guest account. The AirPrint option though allows you to set a password and is the best option if you want to keep your PC secure.
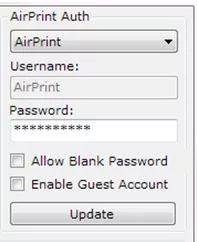
Once you have chosen AirPrint and put in a password click Update and the program will create a Standard User account in Windows for you.
Next make sure the Service Startup box says Auto and click Install AirPrint Service. Then reboot your PC.
AirPrint is now installed on your PC and will run automatically when you boot up. There are a couple of other steps you need to perform to make it work though.
First of all, if your iOS device is running version 5 and above you will need to make a registry fix. Go back to the Windows AirPrint Installer iOS 5 for x86 x64 folder. In there you will find two files called AirPrint iOS 5 Fix. One is for 64 bit systems and the other for 32 bit systems. Double click on the correct one for your system and click Yes in the pop up box. The information needed will be added to the registry for you.
Next, if you have a firewall you will need to allow C:program files (x86)AirPrintairprint.exe for 64bit systems or C:program filesAirPrintairprint.exe for 32bit systems through the firewall. Consult your firewall help files for how to do this.
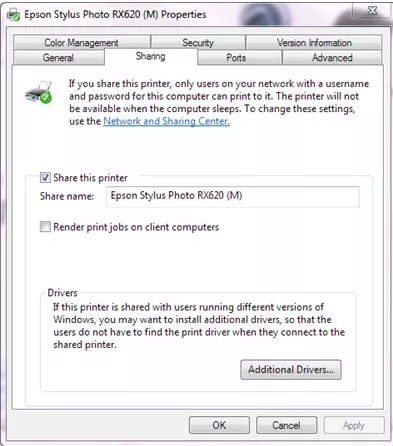
If you need to share a printer click Start>Devices and Printers. Right click the printer you wish to share and click Printer properties. On the Sharing tab tick the Share this printer box, put in a name if you want to (the default is fine) and click OK.
You are now ready to test AirPrint. On your iOS device open an app that allows printing, eg Safari.
Click on  and choose Print. Tap Select Printer. It should find your shared printer, if not check your firewall and ensure that the printer is definitely shared. The first time you use it, it will look something like this.
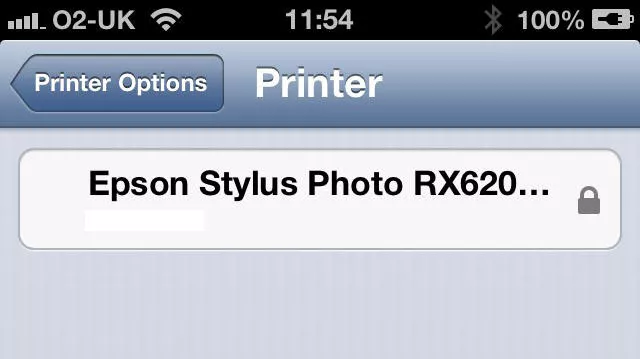
The padlock on the right indicates that the account is locked. You won’t see this if you don’t have a password for the account that AirPrint is using. Tapping on the box will bring up a login for the printer. Put in the user name and password and your printer box will now look like this.
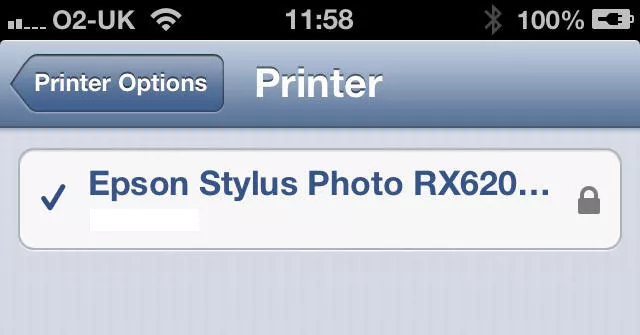
The tick on the left side indicates that the authorisation has been accepted and you can use the printer.
Lastly as a quick tidy up if you set the AirPrint account you will notice that you now have another user on your Welcome screen. You can hide this user by adding a registry entry. If you are not familiar with the registry be very careful, alterations take effect immediately and there is no undo button. I would suggest taking a backup before you add the following key just in case.
To open the registry click Start>Run and type regedit into the box.
To back up the registry click File>Export and chose a location. You can restore the registry using the Import option.
To hide the AirPrint user navigate through the file structure to:
Hkey_local_machine/software/Microsoft/windows NT/CurrentVersion/Winlogon/SpecialAccounts/UserList/
If the UserList folder doesn’t exist you can create it by right clicking SpecialAccounts and clicking New>Key.
Next, right click on UserList and click New>DWORD (32-bit) Value. Call it AirPrint and press Enter then close the registry. Next time you logon to the PC you shouldn’t see the AirPrint user.
In need of IT support services, but don't want to deal with lengthy contracts? Our award-winning Pay as You Go IT Support means you only pay for what you need, follow the link for more information.